Verify Your Meshtastic Node Hardware
Before you begin, make sure you have:
- A supported Meshtastic device (TTGO T-Beam, T-Display, etc.)
- Appropriate antennas installed for your range goals
- Power source (USB or battery) ready and charged
Check that your device is recognized by your computer or mobile app. This ensures a smooth firmware installation and configuration process.
Install Meshtastic Firmware
Flashing firmware is the first step to get your node operational. Follow these steps:
- Download the latest Meshtastic firmware from meshtastic.org.
- Connect your device to your computer via USB.
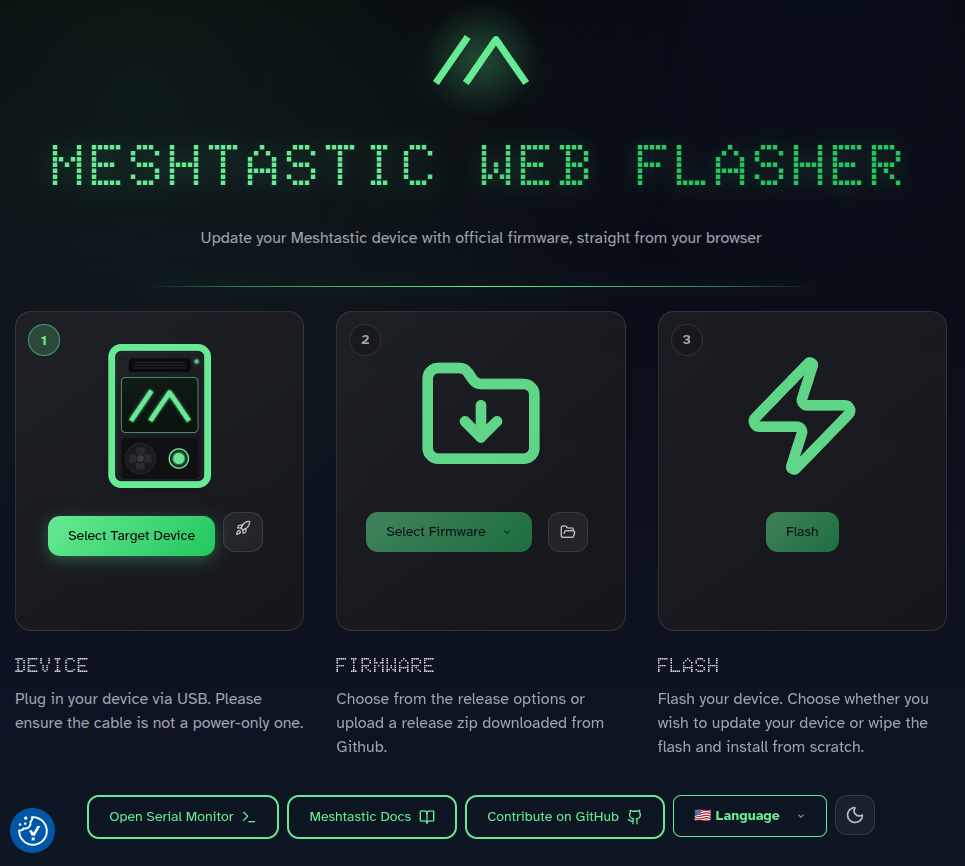
- Use the recommended flashing tool:
- Desktop: Meshtastic Web Flasher
- Follow the tool instructions to flash the firmware safely.
- Verify the device shows correct firmware version after installation.
Tip: Keep your device powered during flashing and do not disconnect until complete.
Know Your Role
Meshtastic devices can be configured with different roles that affect how they operate within the mesh.
Learn more about device roles
Client Roles
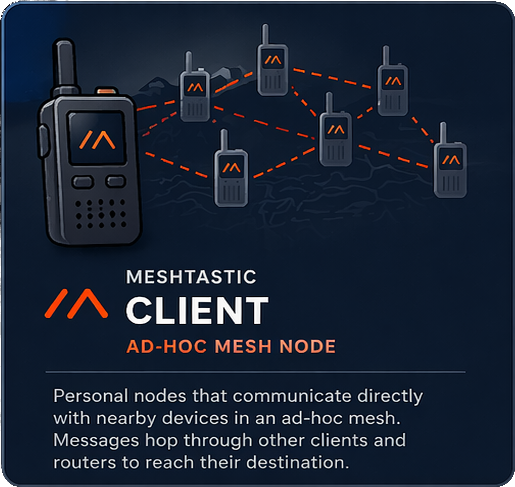
CLIENT
The standard CLIENT role participates fully in the mesh. It sends and receives messages and forwards packets to help extend coverage.
This is the default role for most portable or battery-powered devices. Use CLIENT for nodes that should actively support the network.
CLIENT_MUTE
CLIENT_MUTE is like a regular CLIENT, but it doesn’t forward or route messages. It only sends its own traffic, which helps reduce congestion in busy networks.
CLIENT_BASE
CLIENT_BASE works like CLIENT but gives priority to rebroadcasting messages to and from your favorited nodes.
It’s perfect for a strong, well-placed “base station” device—like in an attic or on a roof—that supports nearby nodes.
Router Roles
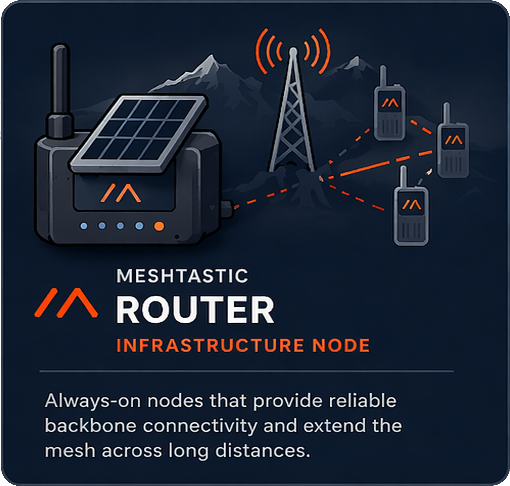
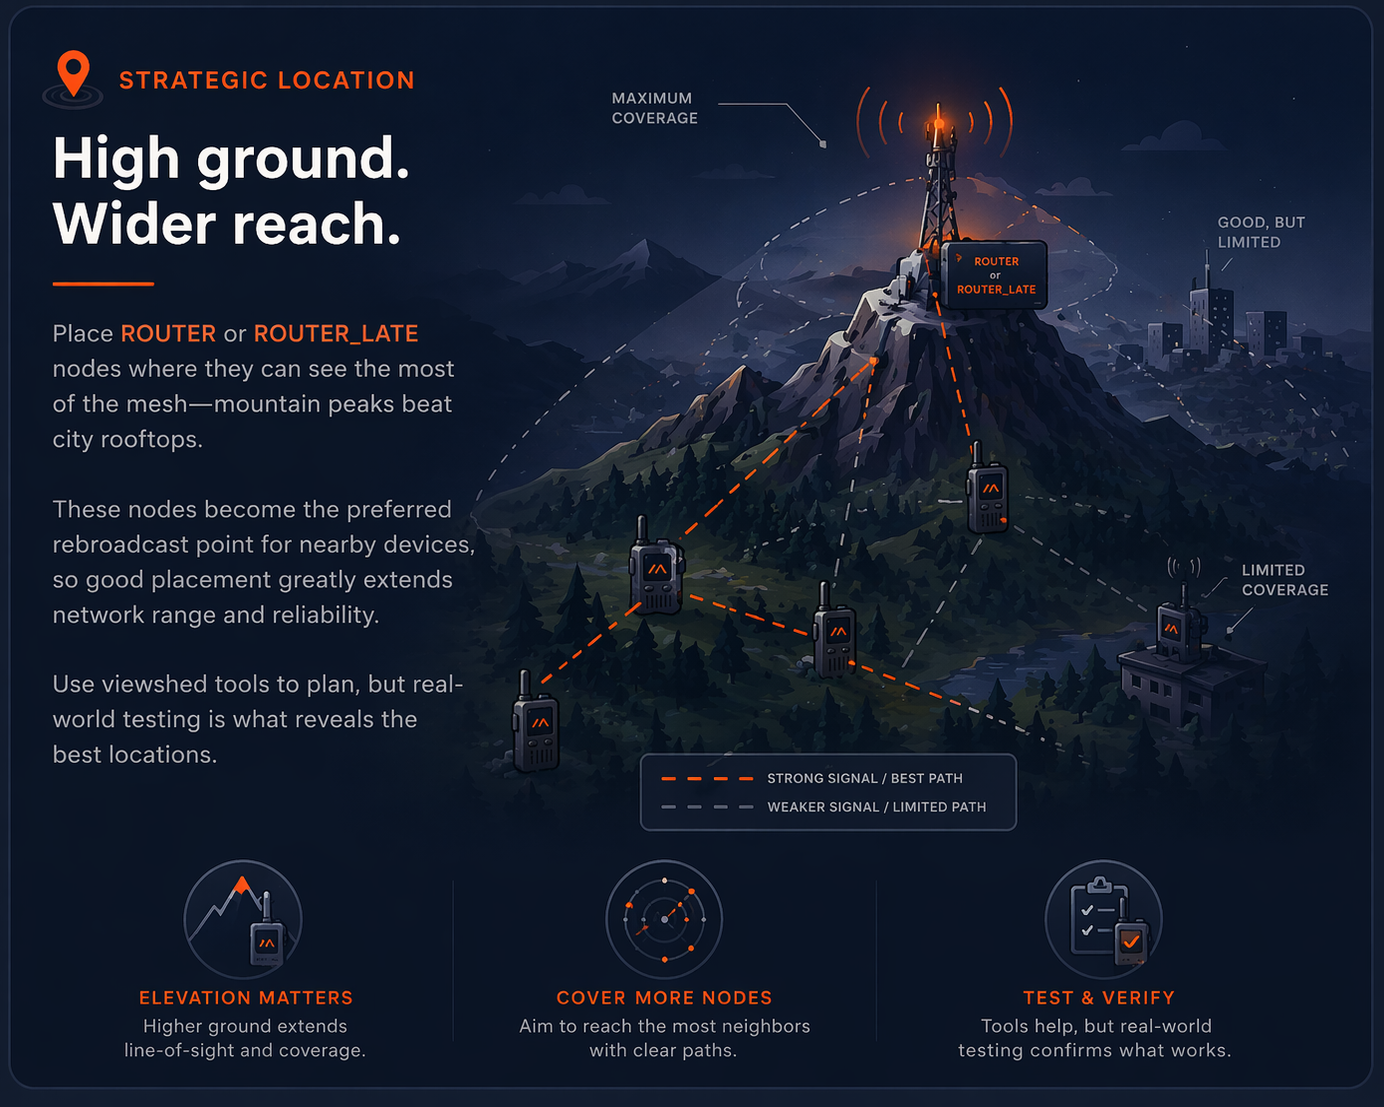
ROUTER
ROUTER is meant for devices that primarily handle routing messages for the mesh. These should be stationary devices placed in strategic locations to act as unofficial hubs.
Routers prioritize relaying messages from other nodes, cutting in line before standard clients rebroadcast, which makes them essential for extending network range and reliability.
ROUTER_LATE
ROUTER_LATE is a variant of the ROUTER role, designed for devices that may have limited power or connectivity.
These nodes will attempt to rebroadcast messages even when they are not fully connected to the mesh, making them useful in scenarios where maintaining communication is critical.
Connect to Your Node
Before configuring your node, make sure it’s properly connected:
Via USB: Connect your device to your computer and confirm it’s recognized.
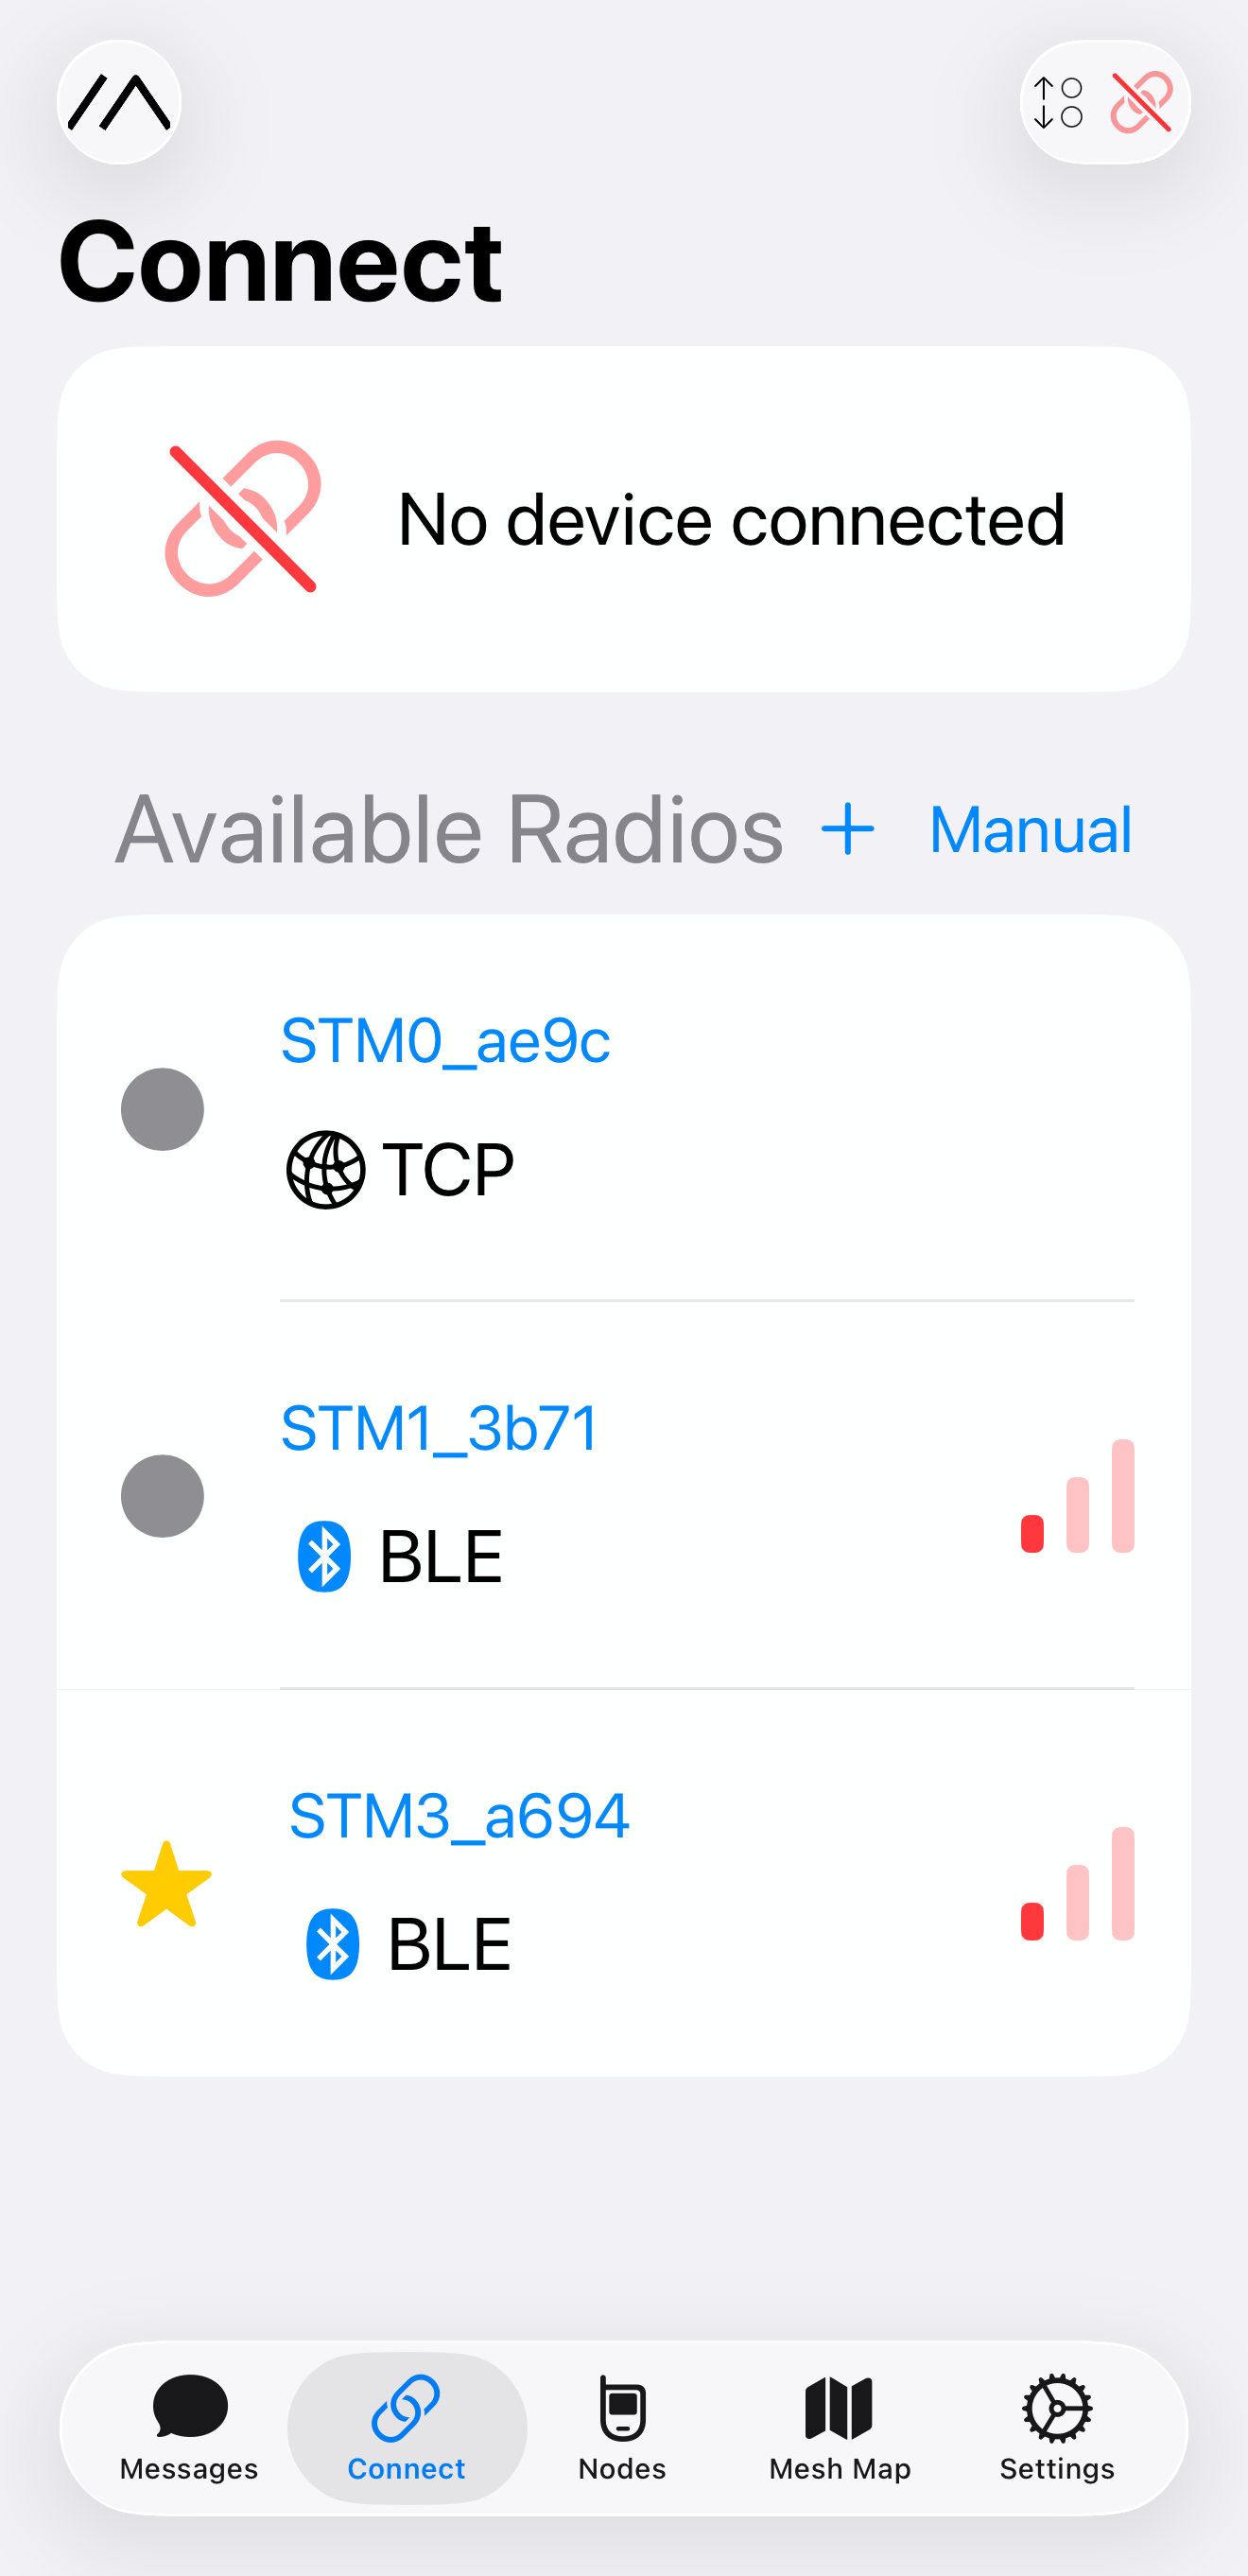
Via Mobile App (optional but recommended):
- Install the Meshtastic app from the iOS App Store or Google Play Store.
- Pair your node via Bluetooth to verify it’s operational.
- Confirm the node’s firmware version matches the one you just installed.
- Make sure the device is powered on — LEDs or the app should indicate connectivity.
Set Up Your Meshtastic Node
Now that your firmware is installed, it’s time to configure your device.
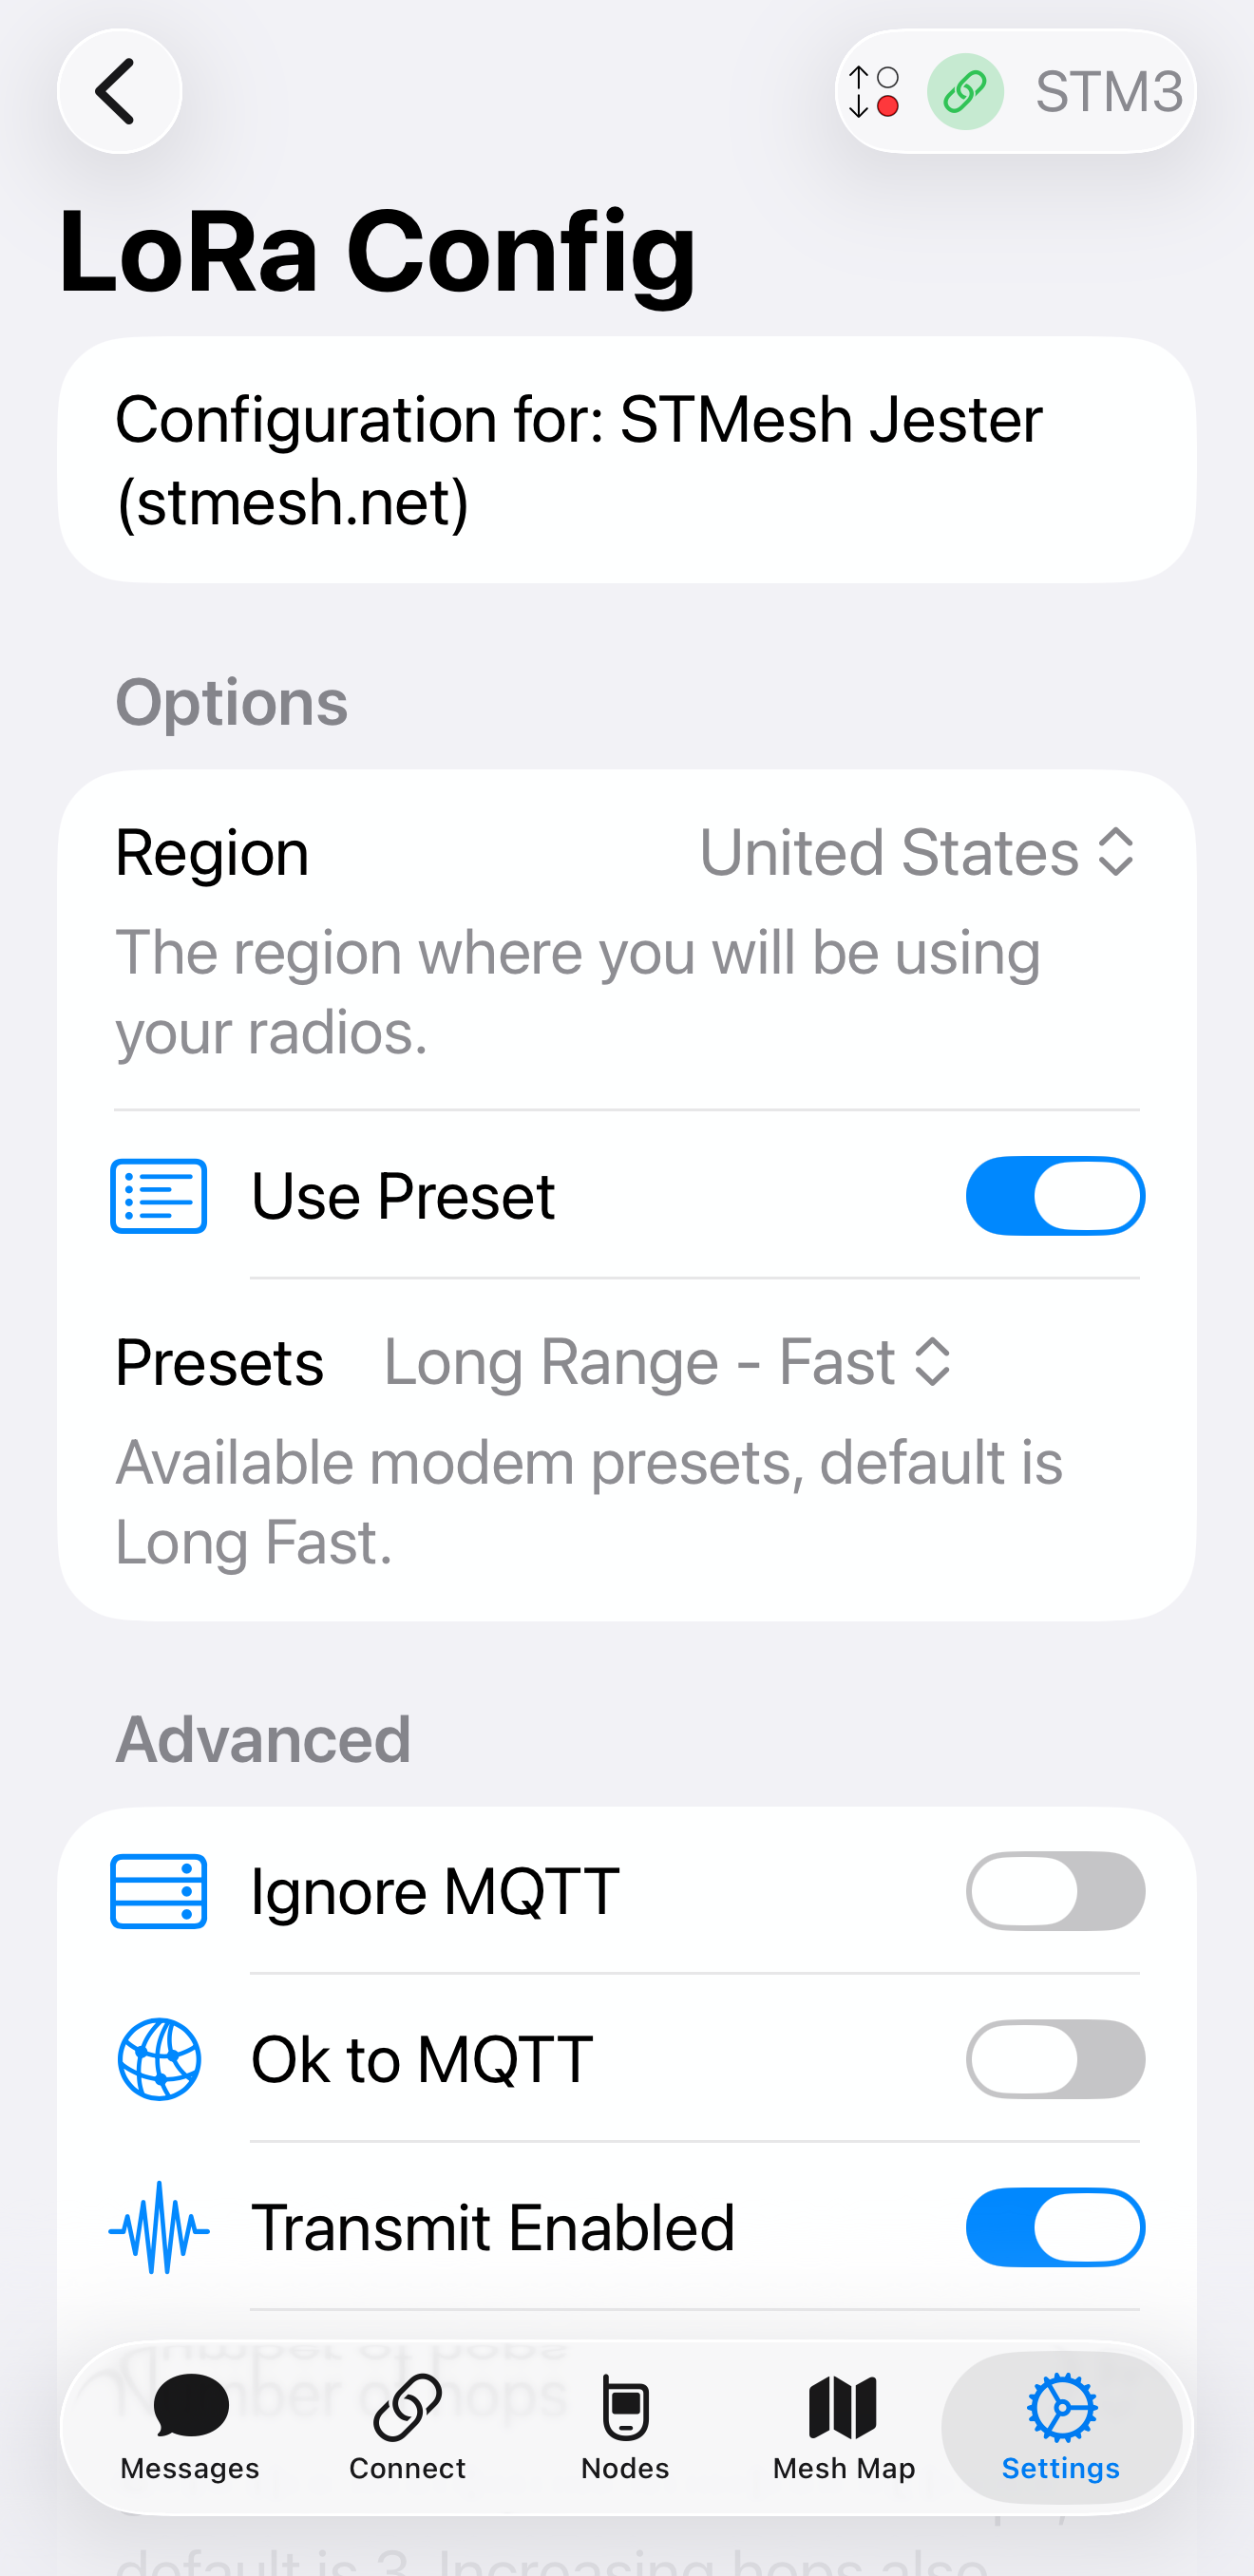
- Assign Your Role: Choose whether this node will act as a mobile device, repeater, or base station. (Use the role cards below for guidance on each type.)
- Set Channels: Select a channel for general testing or temporary use. Local network channels will be configured later on the STMesh pages.
- Optional Settings: Customize your device name, beacon interval, and power modes for your deployment scenario.
Once configured, your node should start communicating with nearby nodes and become part of the mesh network.
Join the STMesh Meshtastic Network
Click the button below to explore the STMesh Meshtastic network in more detail.
Join Local STMesh Meshtastic